Photo by Hannah Donze
Now that you’re a mountain biker, a whole new world has opened up to you. If you want to learn about trails in your region - apps like MTB Project or Trailforks are valuable resources. Both of these apps allow you to find trails where mountain biking is permitted, plan routes, see what difficulty level each trail is ranked, sometimes see trail conditions (dependent on users submitting info), details on closures (seasonal or otherwise), and more. Like skiing, trails are ranked using:
- Green = Beginner. You should be able to navigate these trails with a beginner skill set.
- Blue = Intermediate. These can vary from beginner to advanced-intermediate skill. If you’re feeling solid on green trails, take the leap. Be sure to check features first before you ride.
- Black = Advanced. You’ll need solid intermediate to advanced skills for these trails. ALWAYS look before you leap.
-
Double Black = Expert. Think Shania Twain’s opening line to Man! I feel like a woman. AKA Let’s Go Girls! You need advanced-intermediate minimum to expert skill set for these trails. As always, scope out a feature first and try to go with a friend who has ridden the trail before.
- Orange = Professional. These are sometimes called Pro-lines. These will be extremely difficult and require extremely advanced to expert skill set.
We also encourage you to ask a friend or fellow rider (maybe someone you met in that lesson or clinic you took, or ask your coach) their favorite trails and routes. Sometimes a trail app will list a trail ridden in a direction that may not lend itself to your skill set - ask what direction people ride and why.
Single track vs double track/fire road
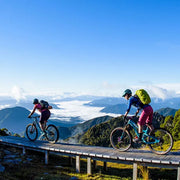
You might hear people talk about singletrack vs double track, fire road, or even jeep road. Singletrack is typically wide enough only for one bike. Double track is usually wide enough for two bikes or more, and fire road or jeep road (you’ll hear this in regions where overlanding is popular - like Moab, UT) is wide enough for a vehicle (and may even allow vehicles). As long as mountain biking is permitted on these types of trails, they are all fun to ride and offer different challenges. Just because it is a fire road, doesn’t guarantee it will be easy.

Photo by Natalie Starr
Directional Trails
Getting outdoors is becoming increasingly more popular and welcoming. We are all for it! Sometimes to limit user interactions, trails will be directional for bikes or bikes are only allowed on certain days. This means that a trail should only be ridden in one direction clockwise/counter clockwise or sometimes only uphill/downhill. This will be signed at the trailhead or on the Trailforks of MTB Project apps. Be sure to follow these guidelines - they are put in place to keep all users safe, ensure the longevity of the trail, and make space for everyone.
Trail Closures
On your Trailforks or MTB Project apps, or on a website that may outline trail systems, you might see info about closures. Trails will close for a few reasons.
- Conditions - A heavy rain or snow may bring too much moisture to a trail and riding on the trail can cause intense damage in the form of ruts. Of course, we also are seeing closures due to fires more and more.
- Seasonal - In some regions, especially higher elevations, trails will close in the winter. This is to ensure the trail isn’t damaged and to be sure you aren’t caught in the winter storm.
- Wildlife - Many regions close trails for wildlife migration, breeding, and generally to give plants, birds, and animals the space they need to thrive.
It is important to abide by any trail closure for the longevity and “health” of the trail, your safety, conservation, and support of wildlife populations.
Dogs and Mountain Biking
We all love our furry friends. Check if the area you will be riding is dog friendly and allows off-leash before bringing your trail buddy. Also, be sure to bring ample water for your dog or have knowledge of water sources on the trail.
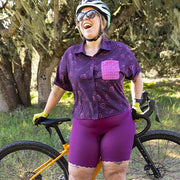
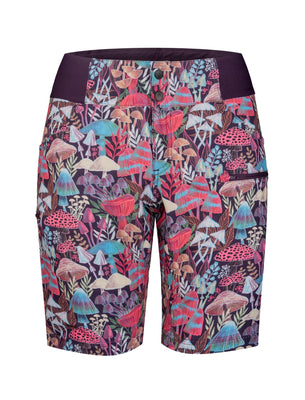
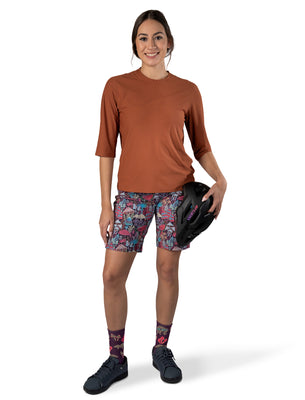
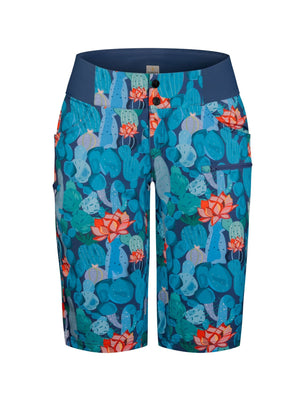
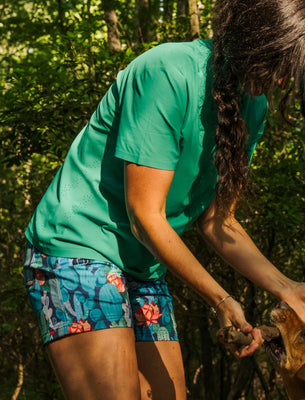
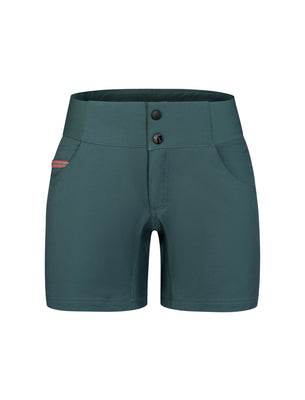
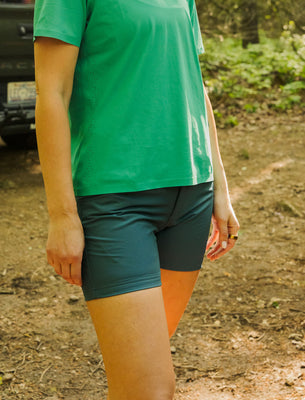
We hope this quick guide gives you the basic tools to get out and about on your mountain bike. Be sure to give fellow users a hello and if you see another biker in SHREDLY, the classic “cute shorts!” greeting. Most of all, have fun!

Photo by Jesse Selwyn
Check out other posts in this series:
